Teaching photography to your kids is a fun exercise. You get to spend time with them and bond. You are encouraging them to be interested in a new hobby which they will enjoy. In today’s world where kids are constantly at home on the computer, iPad or mobile phone playing games; it is very important to teach them a hobby that will get them out of the house into nature and allow them to explore their surroundings.
Photography is the best skill that you can teach them which will help them to appreciate nature and get out of the house more often. Teaching photography to your kids also helps to increase their curiosity and to look at the world with a different perspective.
As parents we too learn a lot when we look at the world from the innocent perspective of a child behind a camera. Many parents have marvelled at how they learn to get a better appreciation of the world around us when they help their children on their path to learning photography.

You can give your child a camera and just ask them to point and click, but for the best photographs and to ensure that your child has got the right foundation, it is best to teach them the main principles of photography so that you get them on the right track.
Top principals when teaching photography to your kids:
Listed below the top principles that you need to keep in mind when you are teaching photography to your kids:
- Understanding How Your Camera Works
- Understanding Your Camera’s Settings
- Holding and Using the Camera
- Editing Images
Let’s get started.
Understanding How Your Camera Works
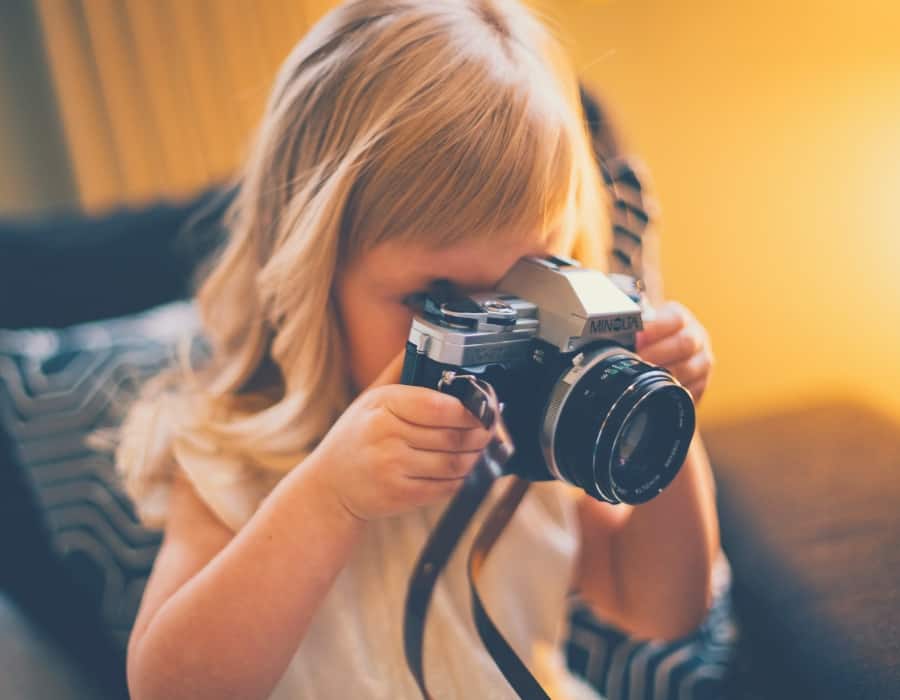
There are many cameras today in the market. You can give your child an old camera of yours, buy for them a new Kids Polaroid camera or a digital camera. Or even give them a camera on an old mobile phone of yours which you don’t use. Either way, every camera has its own unique specifications and options. You need to explain this to your child. If it is a camera you have used earlier, it will be easy for you to explain it to your child. If you are buying a new camera for your kid, you will need to learn the features and then explain it to your child. A kid’s camera is recommended when you teach your child photography as they are specifically manufactured keeping children in mind. They have smaller buttons, they are sturdier and can withstand accidental drops and they come with many child friendly features and colours. Once you understand the basic features of the camera, you can teach it to your child.
Understand Your Camera’s Settings
Every camera has automatic settings for its various features and functions like flash, etc. It is important that you understand the various settings. Then convert the settings that you feel that your child will need into automatic settings. This way, you will save time in explaining the features and functions to your child for the moment. More importantly, you will ensure that your child’s attention is not lost when you try to explain the features. Children have a very short attention span so it is best that you give them the camera to use with all the settings that are required, already in automatic mode.
Once your child has mastered using the camera in automatic mode, you can start teaching them the various functions and features, one at a time, in manual mode. You can teach them all the fun stuff like shutter speed, aperture and ISO and also how using the various settings will affect their photo quality.

Holding and Using the Camera
Now comes the fun part. Firstly make your camera ready for your kid in terms of “click and shoot”. Once this is done you can start teaching your child to take photographs. Once you explain the basics of how they need to click a photo, you can allow them to start taking photos on their own. The main points that you need to explain to your child when they start using a camera is how to use light, how to identify the object and separate it from the subject and how to keep your hand steady which clicking the photographs.
- Using light. Children will get disappointed fast if they click photos which don’t have proper lighting. The objects will not be seen clearly. If your child is older, you need to explain to them how they need to them how they need to use light that is reflected on the object. Rather than behind the object so that they will get a perfect shot. You should also keep the flash on “Auto” settings. So that your child can be able to click photos in low light without needing to change any setting.
- Differentiating between objects and subjects. You need to explain to your child that to start with they need to click one object at a time. Children have a tendency to capture as many objects as possible in one image. You need to demonstrate and let them try to focus the lens on one object at a time. A good object would be a fruit that your child likes for example, an apple.
- Steady hands: Children have a tendency to fidget and move while clicking photos which result in blurred photos. You can explain to them how they can use their body as a support for their elbows when they click photos. They can also use a solid surface like a table to support their elbows while clicking the photos.

Editing Images
Many new kid cameras have great editing features which you can use to edit and improve the photos. There are excellent apps too on the phone that you can download and use to edit the photos. Children love the part of editing photos. You can try different editing techniques like touch ups, colour correction, and adding fun effects.
About the Guest blogger
Dan Barr is a photographer. Dan is a Daddy to two girls and also the founder of KidsCameraGuide.com. A blog which is all about teaching photography to kids and kids cameras.
You can find Dan at his: